Learn How to Preserve a Carved Pumpkin, Get Jack-o-Lantern Carving Tips, and More For This Halloween
Halloween is here, and with it comes the fun of carving pumpkins! Make your carving project easier, help your Jack-o-Lantern last longer, and impress your friends with these awesome tips.
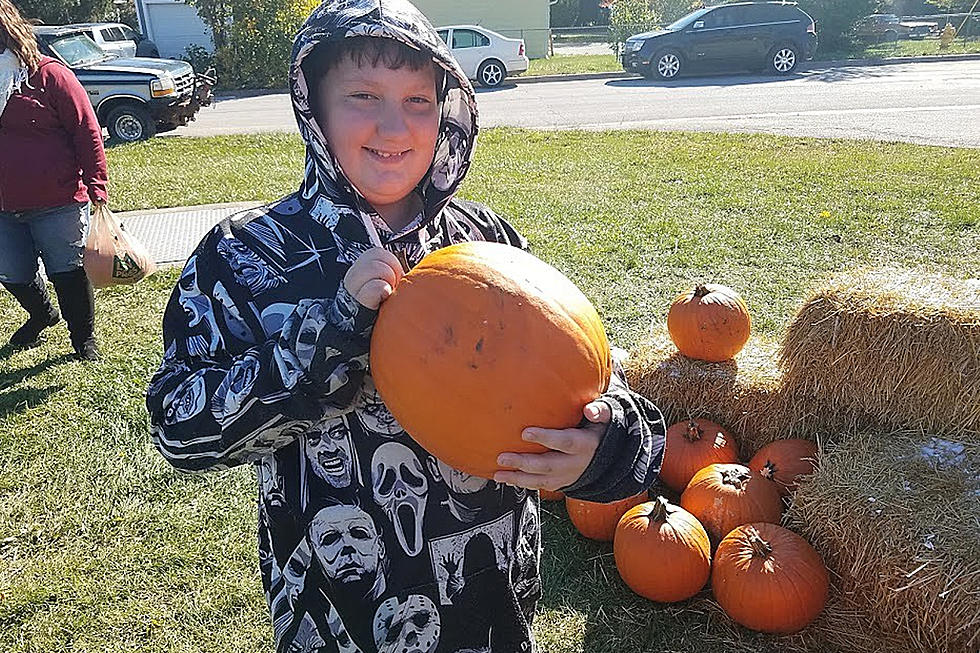
Once you're done picking out your pumpkin (see great places to find your pumpkin in the Twin Ports), the next step is making it into something awesome.
Carving
Carving website Pumpkin Masters recommends while scraping the "guts" out of your pumpkin, try not to scrape away too much of the wall of the gourd. About 1 inch is best for carving.
If you like to free-hand draw your design onto the pumpkin, try using dry-erase markers instead of Sharpie (permanent) markers or pens. If you mess up or change your mind, you'll be able to wipe away the unwanted lines without any after effects.
Using cookie cutters and a rubber mallet is an easy and effective way to get shapes, or even the outlines of Halloween characters cut into your pumpkin.
Preservation
There are a handful of effective ways to keep your pumpkin from rotting, molding, or shriveling. In an area like the Twin Ports with wildly unpredictable fall weather, protecting your pumpkin from freezing and thawing is the first step in giving your pumpkin a long life. Bringing a pumpkin into a garage or basement when not on display will help in protecting your pumpkin from weather extremes.
To prevent mold and rotting, experts recommend treating the inside and all cut openings with a coating of a bleach cleaner. The bleach will slow the growth of mold, which plays a role in rotting. Using a spray bottle to apply the bleach is an easy way to evenly apply and cover the inside of the pumpkin. Some experts also suggest an additional step. After allowing the bleach to soak in for about 20 minutes, wipe off the excess and then rub a thin layer of petroleum jelly on the inside and cut parts of the pumpkin. This will help contain the pumpkin's natural moisture and prevent mold growth on the surface.
If your pumpkin is getting shriveled and drying out, completely submerge it in a bucket or bath tub full of water for several hours. After removing the pumpkin from the water, be sure to wipe off excess water to prevent molding.
Other Tips
If you'd rather not carve your pumpkin, you can still make it glow in the night. About.com offers the idea of using glow in the dark paint to show off your pumpkin. Uncarved pumpkins will last months, compared to carved ones that only last a few weeks. Use masking tape to create the shapes, patterns, or face you want on your pumpkin; then coat the pumpkin with glow in the dark paint. After the paint dries, remove the tape, and your pumpkin is ready to go! Depending on the type of glow in the dark paint you use, the glowing effect may last for an hour or so. Keeping the pumpkin inside until you want to display it in the dark will help keep the glowing properties "charged up" and ready for you to show off.
If you're hosting a Halloween party, why not make a pumpkin into a place to hold your drink of choice?
Cutting the top half of a pumpkin off gives you a couple of great options. Your topless pumpkin makes a perfect cooler to stash some bottled or canned beverages. Also, sticking a bowl inside of the bottom half of a pumpkin creates a cool punch or candy bowl.
You could also go all out and create a pumpkin keg, following the steps in the video below.
How to Make a Pumpkin Keg
Enjoy these tips and have a happy and safe Halloween!
More From MIX 108